Enabling this Feature, allows dispatchers to auto dispatch the jobs to all the available drivers as soon as the job is booked within a specified radius. Driver will have an option to accept or reject the job.
How to Enable Driver Self Dispatch Feature for Account And Define Radius?
- Go to Settings from side Menu>
- Click on Auto Allocation
- Select Driver Self Dispatch
- Enable
- Enter the Miles. This data signifies that the job will be only offered to drivers that are located within a certain radius from the pick-up position of the job. i.e. based on the current driver location.
- Enable Hub Restriction – Enable this option if you want to Auto Allocate the jobs to the Driver based on the Location Postcode.
- Go to Set Users > Select Hubs > Click on Add Hub > Enter the Details along with the postcodes cover under the Hub

2. After adding hubs, It’s time to associate Drivers with the Hubs.
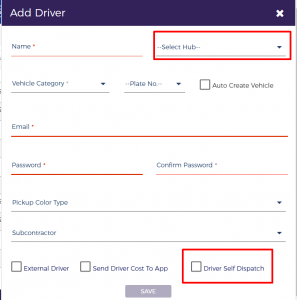
Go to Set Users > Select Drivers > Click on Add Driver/ Edit Driver > Enter the Details of the Driver > Select the Hub this Driver is associated with > Also, select Driver Self Dispatch
Note: You have an option to enable and disable this feature for selected Drivers. If the Driver Self Dispatch option is not selected, then the job will not be dispatched to that driver.
Enable No PickUp – We need to enable this option, If only the delivery jobs needs to be auto-dispatched to the Drivers.
How does this work?
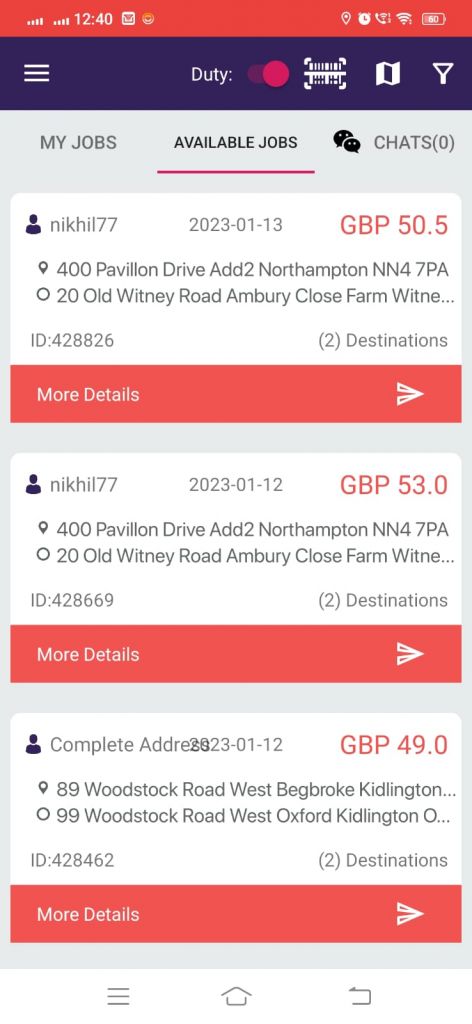
After enabling this feature, the Available jobs tab will start showing on the Driver App.
As soon as the new job is booked in Instadispatch System, it will start showing on the Available jobs Tab to all the available drivers (based on the settings) for which this feature is enabled and are available in the specified radius.
A notification for the new job will be shown to all the online drivers.
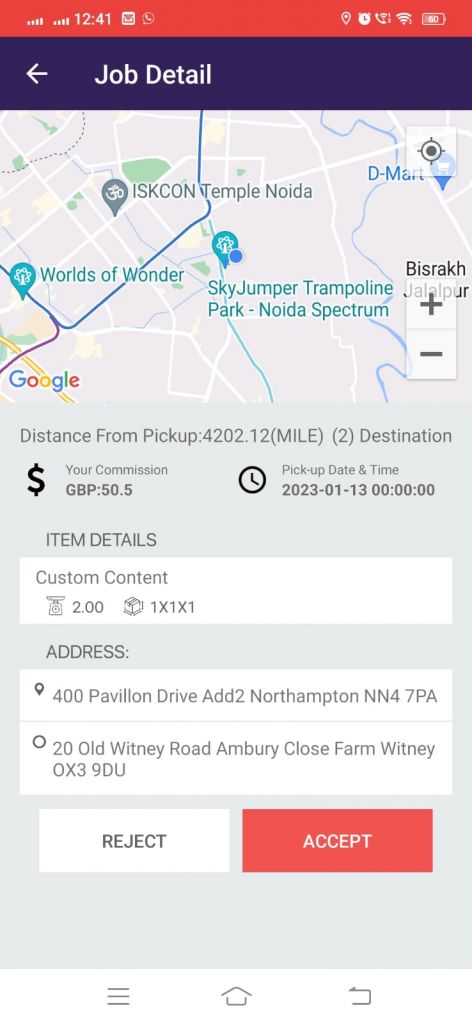
On Clicking More Details, the driver can see the details about the jobs along with the Collection and Delivery Drop on the map and Driver’s Current location.
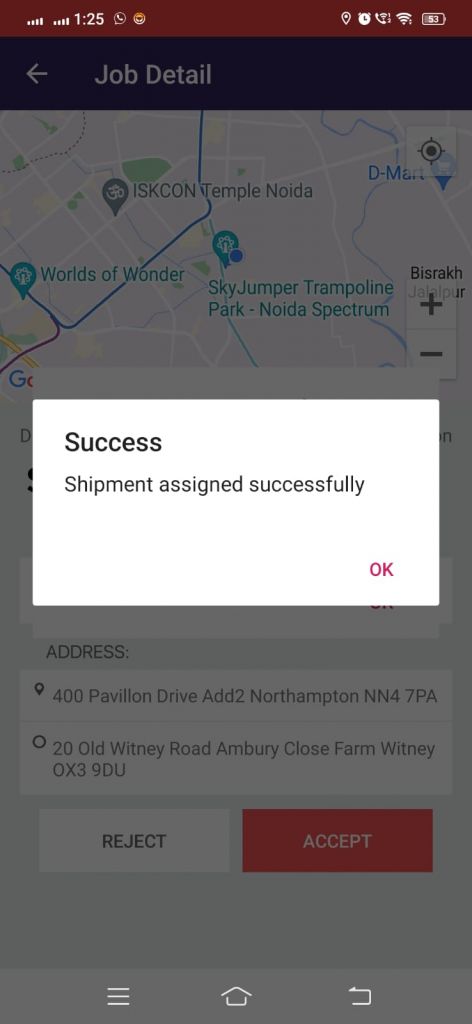
As soon as any driver Accept the job, the job is auto assigned to that driver and moved to My jobs Tab. On the other hand, the job is removed from the Available jobs and stop showing to all other drivers.
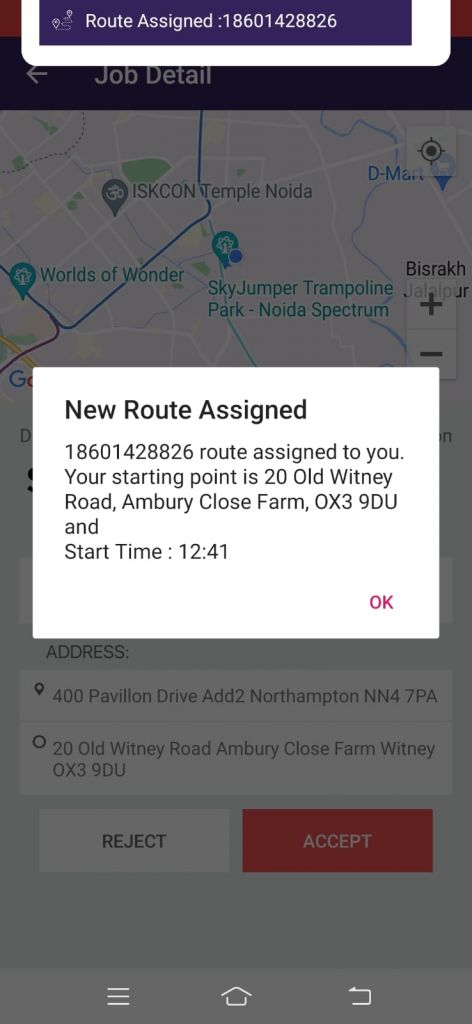
Also, the status of the shipment changed from “Booking Confirm” to “Awaiting Collection”
When a Driver rejects the job, the job stops showing to that driver but will be showing to all the other drivers on the Available job tab.
Decline Route Option
Dispatchers can allow Drivers to Decline the route after they accept the route. When the Driver Decline the route, the job will auto dispatch to other drivers (based on the settings)
To enable Decline button on the Driver App, follow the below steps:
Go to Settings > Select App Configuration > Select Action Visibility Tab > Select Show under Route Decline option > Click on Save Configuration


