What are Hubs in InstaDispatch?
- Hubs are groups of postcodes used for organizing dispatch operations.
- Different user categories like drivers, scan terminal personnel, and dispatchers can be associated with these hubs to determine their roles and responsibilities.
What is Type in Hub?
The “Type” option in a Hub is used to determine what type of jobs (shipments) will be shown to dispatchers on their route planning screen based on the hub they are associated with.
Three types can be chosen:
- “Collection”: Dispatchers can see shipments whose collection postcode matches the hub’s postcode.
- “Delivery”: Dispatchers can see shipments whose delivery postcode matches the hub’s postcode.
- “BOTH”: Dispatchers can see all jobs whose postcode matches any in the hub.
Note: If a postcode is not available in any hub, it will be shown to all dispatchers by default.
Creating Hubs:
- To create hubs, you should go to the “Set Users” from the side menu and select the “Hubs” option.
![]()
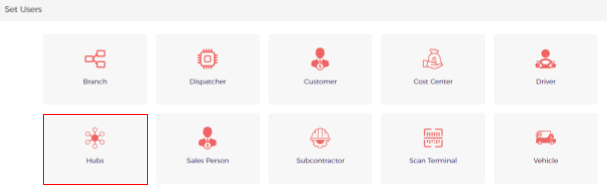
- Add hub details and specify the postcodes associated with that hub.
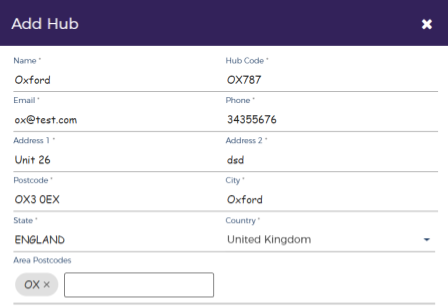
- Save the hub.

You can create as many hubs as needed.
Intrahub Load and Unload scan can be done using Driver login & Scan Terminal Login
Creating Scan Terminals and Associating with Hubs:
To create scan terminals and associate them with hubs:
- Go to the “Set Users” section from the side menu , select the “Scan Terminal” option.
![]()
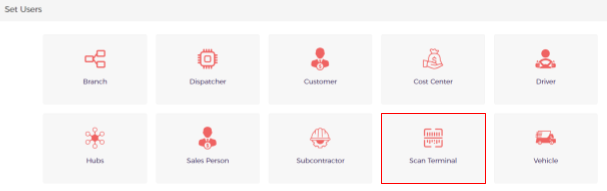
- Add scan terminal details and choose the associated hub from the dropdown menu.
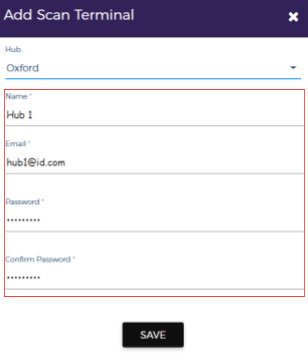
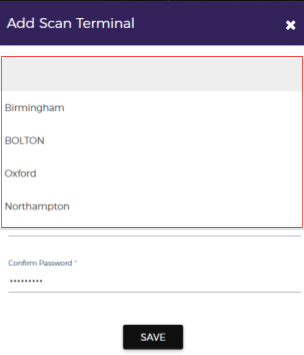
This association is essential for tracking parcels and recording scan terminal activity.
How does IntraHub Transfers work in InstaDispatch?
- Scan terminal personnel or drivers use the InstaDispatch app to scan parcels.
- The status of the shipment for which the parcels are scanned updated to “IN-TRANSIT.”
- Detailed scan information, including scan terminal or driver name, date, time, and parcel ticket, displays in the system.
Total Flow of IntraHub Load & Intrahub Unload Scan
Let’s take an example:
The company operates with two branches, located in Bolton and Birmingham, respectively. When a customer books a shipment, the collection is scheduled at the Bolton branch, with the final delivery destination being the Birmingham branch.
The process unfolds as follows: The dispatcher assigns the route to the driver, who picks up the parcel and unloads it at the Bolton branch warehouse. Subsequently, the parcel is to be transferred to the Birmingham branch warehouse. Either the Scan Terminal person or the driver loads the parcel from the Bolton warehouse, and upon reaching the Birmingham warehouse, it will be unloaded by the Scan Terminal person of Birmingham Branch. Finally, the driver at Birmingham Branch delivers the parcel from the Birmingham warehouse to the intended recipient.
Scan Terminal/ Driver Load the Parcels from Bolton – Intra Hub Load from the App
- Create Scan Terminal/Driver and then associate that Scan Terminal/Driver With Bolton Hub
In case Driver is performing this action, the Driver Should also be associated with Bolton Hub. Here in this example we will perform all actions using Scan terminal Login.
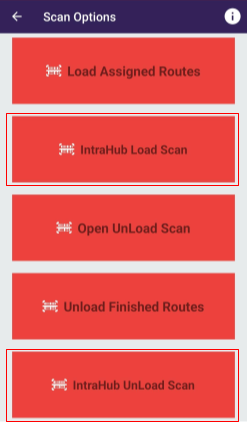
- Initiate the Scan Terminal login process within the InstaDispatch App using the respective login credentials.
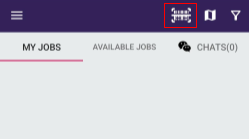
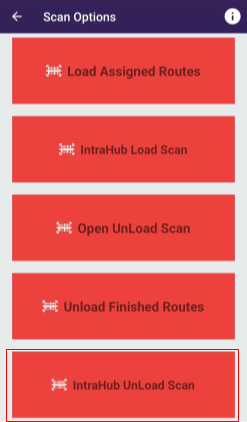
- Tap on the Barcode icon located at the top.
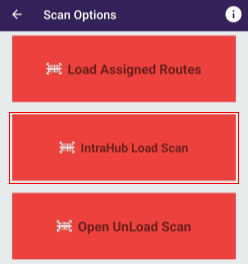
- Choose the “Intra Hub Load Scan” option.
- Proceed by clicking the addition (+) icon.
![]()
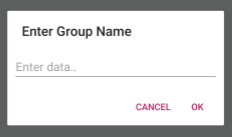
- Assign a Group Name – This should be a name that accurately describes the set of parcels being scanned, helping identify the specific load for the van.
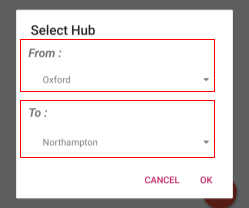
- Select the FROM and TO Hubs, specifying the origin and destination hubs for the loaded parcels.
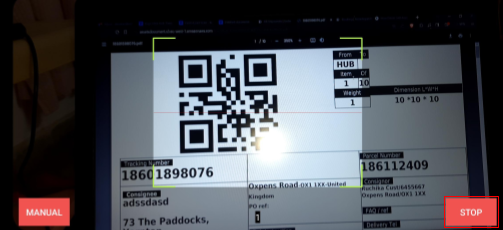
- The Scan Terminal operator should commence the scanning of parcels being transferred from one hub to another. Upon scanning all parcel labels, click on the STOP button.
Scan Terminal unload the Parcels in Birmingham – Intra Hub UnLoad from the App
- Connect the Scan Terminal/Driver login to the Birmingham Hub.
In case Driver is performing this action, the Driver Should also be associated with Birmingham Hub. Here in this example we will perform all actions using Scan terminal Login.
- Have the Scan Terminal operator log in to the InstaDispatch App using their authorized login credentials.
- Access the Barcode icon at the top.
- Opt for “Intra Hub Unload Scan.”
- Repeat steps 4 to 7 as previously outlined.
After completing the Intra Hub Load & Unload Scan for the parcels, the Dispatcher Portal is updated with the following information:
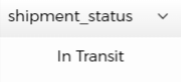
On the All Shipments Dashboard: Once parcels are scanned, the status of the associated shipments will promptly switch to “IN-TRANSIT.”
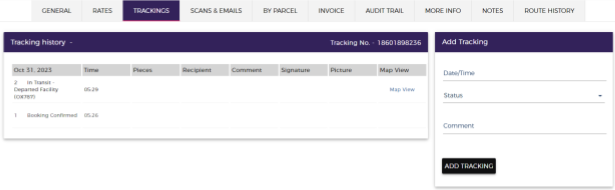
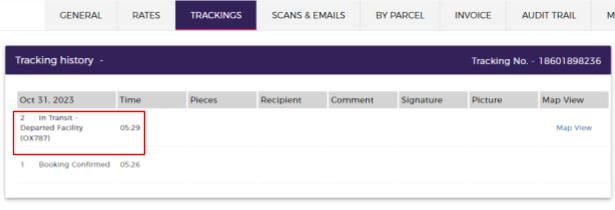
On Individual Shipments:
- Tracking: For each individual shipment, the tracking information is updated to reflect “In Transit – Departed Facility (Hub Code)/ Arrived at (Hub Code).”
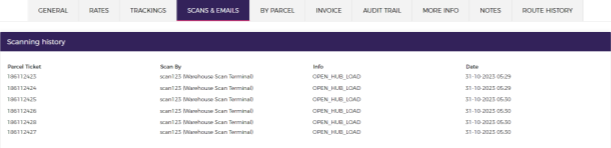
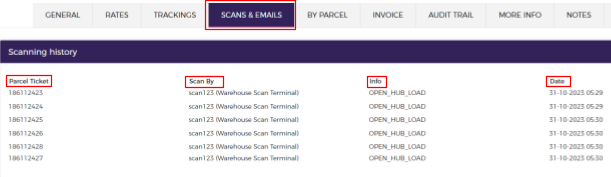
- Scans Data: Within the edit shipment screen, under the “SCANS & EMAILS” tab, you can access detailed scan information such as the Scan Terminal’s name, date and time of the scan, and parcel ticket details.
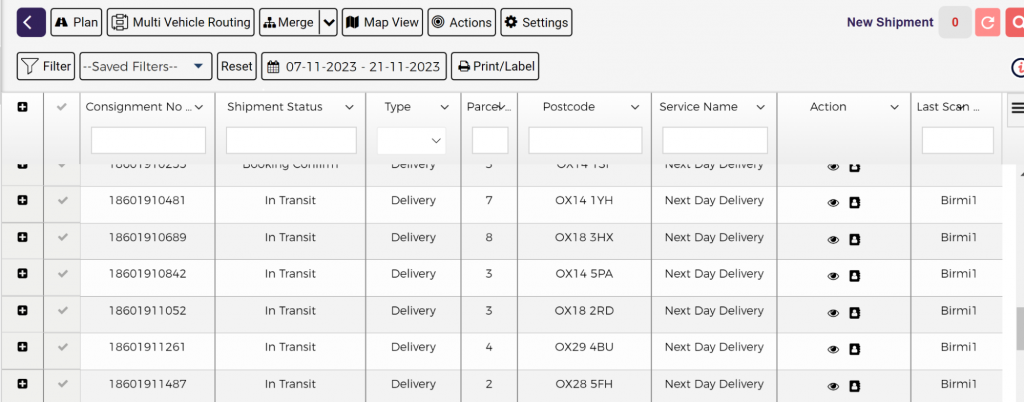
On the Route Planning Screen:
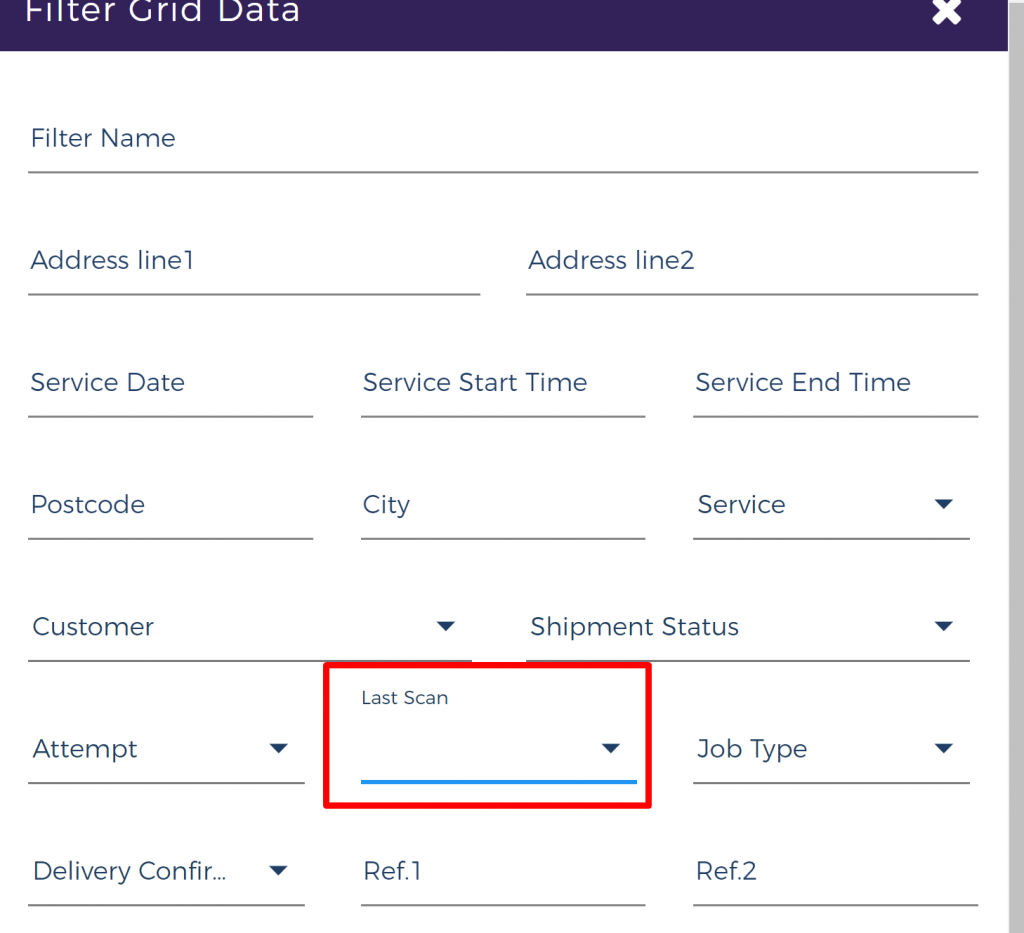
- Grid View: The Parcel routing grid includes a “Last Scan” column, allowing the Dispatcher to view the hub code where the last scan was performed.
- Filtering: In the Filter options, there is a choice to select the hub within the Last Scan. This enables the Dispatcher to filter results and plan routes accordingly.
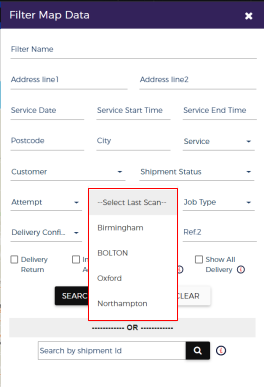
- Map View: The same filter can be applied in the Map View to refine results based on the last scan hub.
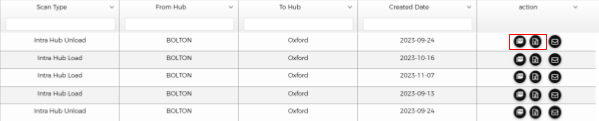
Logs of All IntraHub Scans:
InstaDispatch maintains a comprehensive log of all IntraHub Load and Unload Scans. To access this data, follow these steps:
- Navigate to the “Logs” section from the side menu at https://route.instadispatch.com/#/logs.

- Select the “INTRA HUB SCAN” option.
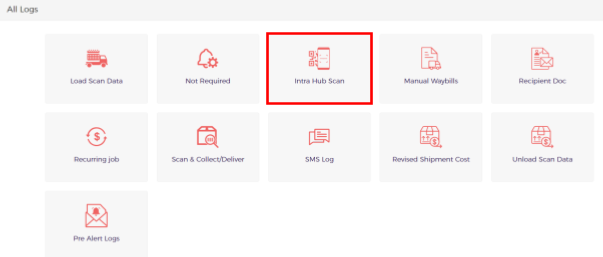
- All the scanned data will be listed, and there’s an option to download this data in both Excel and PDF formats.